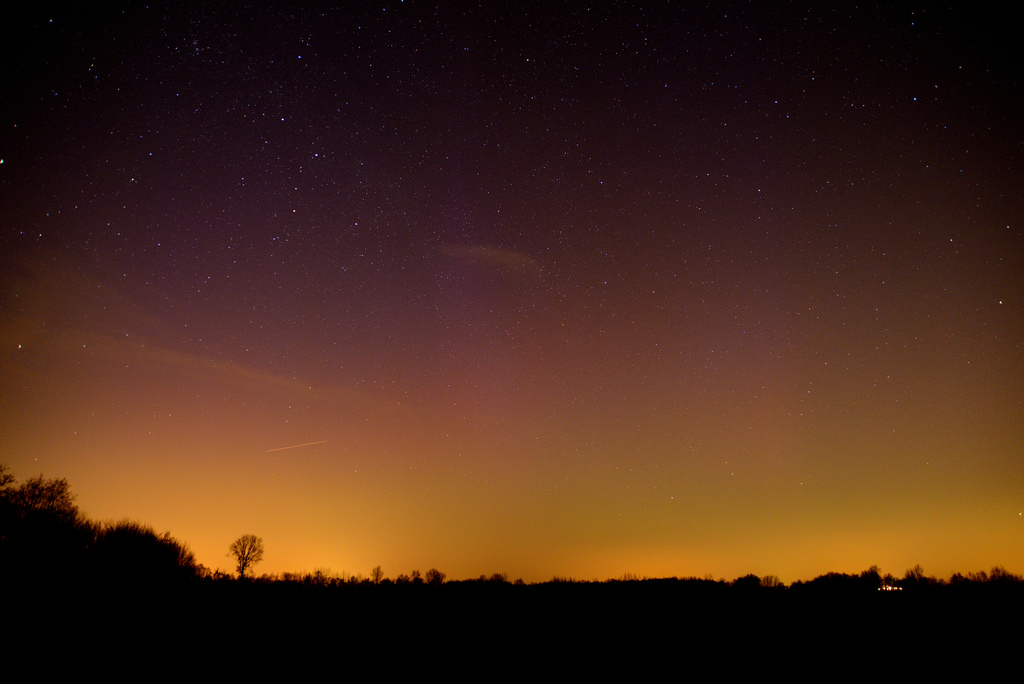
Yesterday we actually got the chance to witness the aurora from my ‘regular dark spot’ near my hometown, which is located at 52 degrees north. Pretty rare to be able to see and capture the northern lights from this location!
The light pollution from the towns and cities did make it harder to witness the aurora, but I think it actually made a pretty colourful picture with the bright orange glow 😉
It was also the 2nd occasion to try out the Nikon D600, and I must say I’m pretty pleased with the results! Noise levels and the dynamic range are just amazing on this camera. A real upgrade from the D7000.
Aurora photography and timelapse with a DSLR – workflow
Photographing the aurora is actually pretty simple, due to the fact you just shoot from a static tripod 😉
My workflow was as follows;
– Rush out in a hurry, try not to forget any gear, curse yourself for not charging batteries and grab whatever you can think of.
– I put the Nikon D600 with the Nikkor 24-85mm on the tripod and focussed the Nikkor on 24mm F2.8
– Make some test shots, adjust the framing of the photo and test the right ISO and shutter time. (I started out with ISO3200, but brought it all the way back to ISO800). Shutter time 22sec.
– Start the imaging sequence and hardest of all; resist the urge to check and view your frames in between. Seriously, this is so hard to do as I was so curious for the results, but doing so will create hick-ups in the timelapse 😉
Back home it’s time for processing;
– Adjust 1 RAW image of the sequence using Nikon’s Capture NX2. Just some exposure, contrast and saturation adjustments.
– Copy and apply the adjustments on all exposures and export them as JPG’s
– Create timelapse using Time Lapse Assembler
That’s really it, you’re done!
Aurora DSLR timelapse
And this is the result of 160 frames of 22sec. exposures, at 10 fps.
