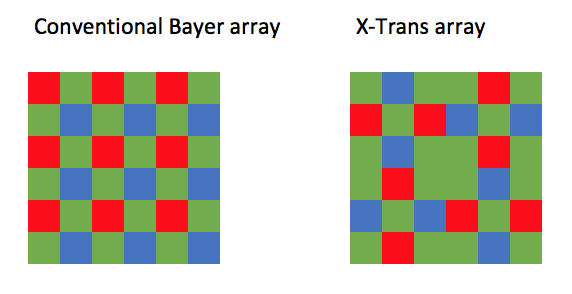
Fuji introduced an alternative for the well known Bayer filter array with the X-Trans CMOS sensor. Basically they took the 2×2 Bayer grid and replaced it with a larger pattern that is more random at larger scales. The great benefit of this is that it allows Fuji to get rid of the low-pass filter that has slightly blurring effect.
You can see the two different patterns below
PixInsight X-Trans integration
Because Fuji X-Trans has a completely different pattern which is not fully supported yet in Pure RAW format in PixInsight, you won’t be able to use the preferred calibration and integration process BatchPreprocessing.
Instead you’ll have to follow the following steps;
- Create your darks, flats, and bias frames (PI doesn’t do darkflats)
- Use the ImageIntegration module to integrate your darks, bias, and flats (separately of course) into what will serve as a master dark, master bias, and master flat. Save those files! They’ll be in .xisf format.
- Now go to the ImageCalibration module. Select your .raf files and specify the output directory. Select the master bias, dark, flat into the respective areas.
- Now go to StarAlign and select these newly calibrated files and set a directory and process.
- Now go to ImageIntegration and select the aligned files. If you have a beefier machine you’ll get more performance from increasing the buffer size and stack size. I use 64 and 4096 respectively.
- You’re done! You have an integrated file that still has color and you can continue to process the integration following the regular workflow. Hope this helps someone.
Thanks to nwcs0822 for bringing this to our attention.
