When you want to use flat frames and/or dark frames, you will have to create a masterBias as well and use this on the flats/darks. Shooting bias frames is pretty easy, but still many different things are said about them and how to take them. To make sense of this it’s good to understand what a bias frame is and what it’s role is in the calibration process.
What is a Bias frame and what does it do?
Any imaging sensor will have noise that is produced by the electrical system itself. By this we don’t mean the dark current, but just the sensor picking up electrons from the processes of the electrical system itself. Most of the time this will have a fixed pattern, ander therefor can be calibrated. When combining many bias frames you will create a masterBias that will be a capture of this fixed noise pattern.
You need to subtract this from flats and dark frames, because those frames have this pattern as well as a basis, and on top of that need to correct either the artifacts of the imaging train (the flats) or the dark current/thermo noise (darks). You can imagine that this is best done without the fixed noise pattern that is already there, so this is where darks come in to subtract that and make sure we are correcting the right signals.
How to take bias frames with a DSLR
Reading the above explanation on what a bias frame is and what it’s purpose is, you probably can guess a few things already what to do when taking bias frames;
- Use the fastest shutter speed your camera offers.
- Cover the camera and viewfinder
- Use the same ISO as your lights.
- Temperature doesn’t really matter.
- Don’t debayer your bias frames.
- Integrate the bias frames with no normalization and equal weighting.
- Shoot many frames!
Since we are interested in the fixed noise pattern of the electronics, we don’t want other noise creeping up (like dark current) so keep the exposure as short as possible
Again, we don’t want any signal spoiling our bias frames, so make sure you cover the camera to avoid any light falling in.
I’m not sure on this one, but since I shoot at a fixed ISO setting and I need to pick an ISO value anyway, best to keep it at the same setting.
I’m pretty sure theoretically it will matter, but in reality you won’t notice any difference because of the short exposure time. Don’t worry about shooting the bias frames indoor at room temperature while you image outdoors with way lower temperatures.
The whole calibration process should be done with ‘un-debayered’ frames; undebayered bias is used with undebayered flats on undebayered lights. After calibration you debayer the corrected lights, and start the registration/integration process.
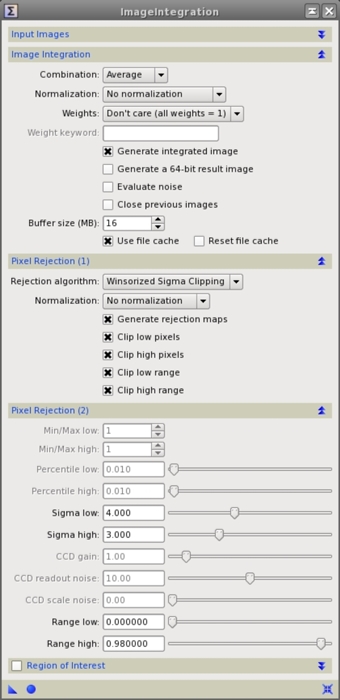
If you use PixInsight you can use these settings for your ImageIntegration:
This seems to be overlooked and misguided statements are given often. Taking 5 frames is NOT enough. Nor is 10 or 20 probably. I would say you will need AT LEAST 30+ frames. But you are better off taking more frames. The acquisition of these bias frames is easy, so why wouldn’t you?
Let’s have a closer look why it is important to use many frames:
How many bias frames should I take?
Like mentioned before, 10, 20 or 30 frames won’t be sufficient. You are trying to capture the fixed noise pattern as so you need a lot of frames to get it clearly showing.
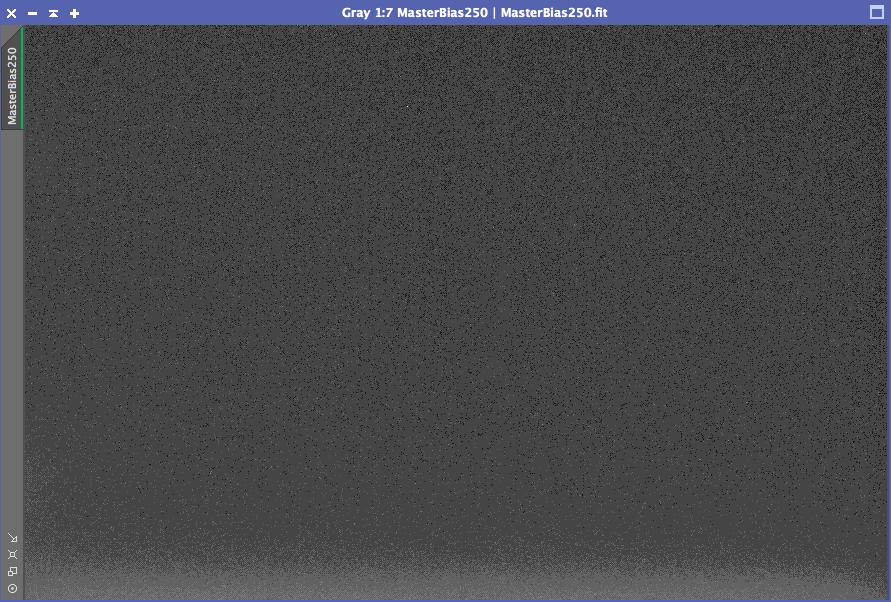
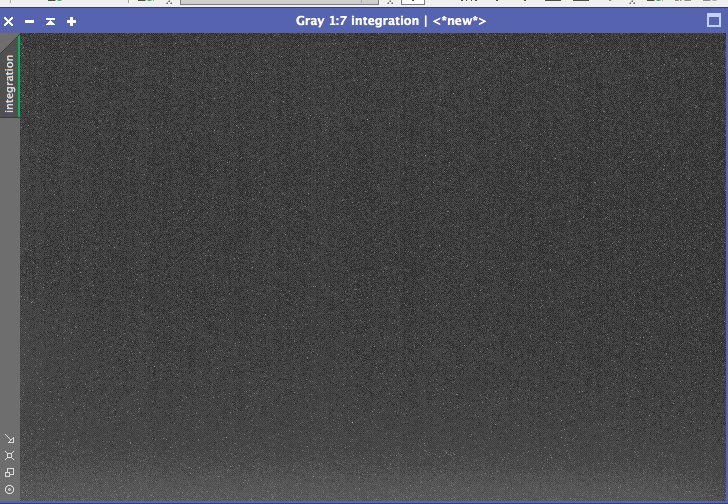
See below the difference between a master bias of 50 frames and that of 250 frames:
Please note that the images are stretched to show the difference.
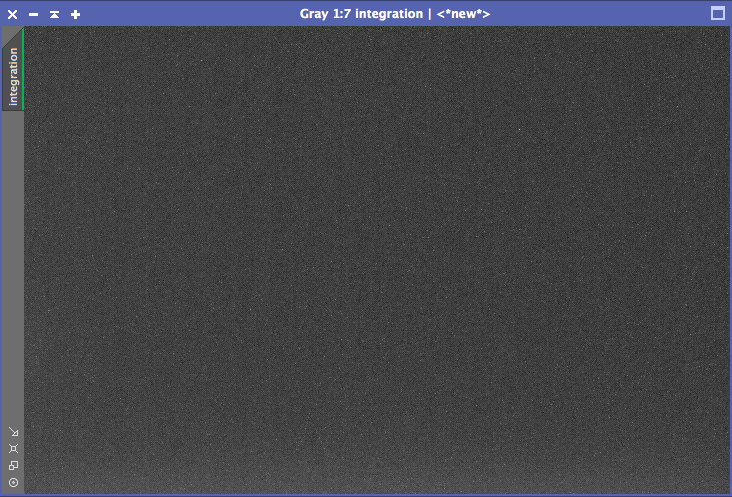
You can clearly see that the structure is better seen in the 250 frames version.
Let’s look at the random noise and how it relates to the number of frames used in the stack:
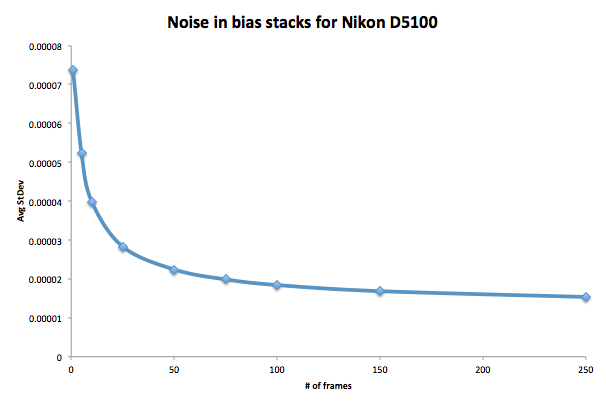
When looking at the noise of the masterBias you can see that when you keep adding frames, the advantage you get in terms of noise is getting smaller and smaller. The key thing to notice here is that it doesn’t flatline after 20 or 30 frames already, but more like 100 frames.
SuperBias
PixInsight has a great process called ‘SuperBias’, that can process your masterBias as if you would have a stack of several hundreds of bias frames. Basically it aims to getting rid of all the random noise and only leave the fixed noise pattern.
See below the difference between a masterBias of 250 frames vs the SuperBias (for the D5100)
MasterBias examples from different DSLRs
One thing that’s important to note is that the masterbias will look different for each dslr. Not just for each model, but to some extend probably for each unique dslr.
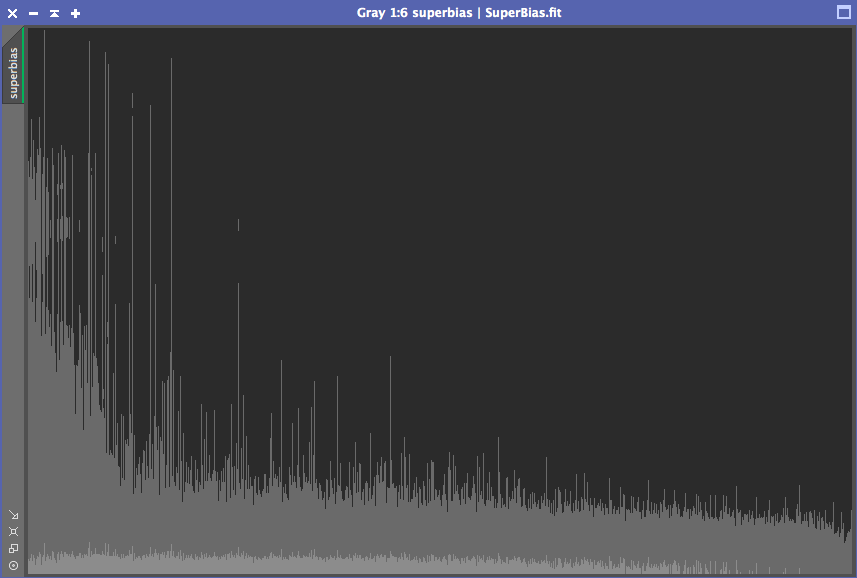
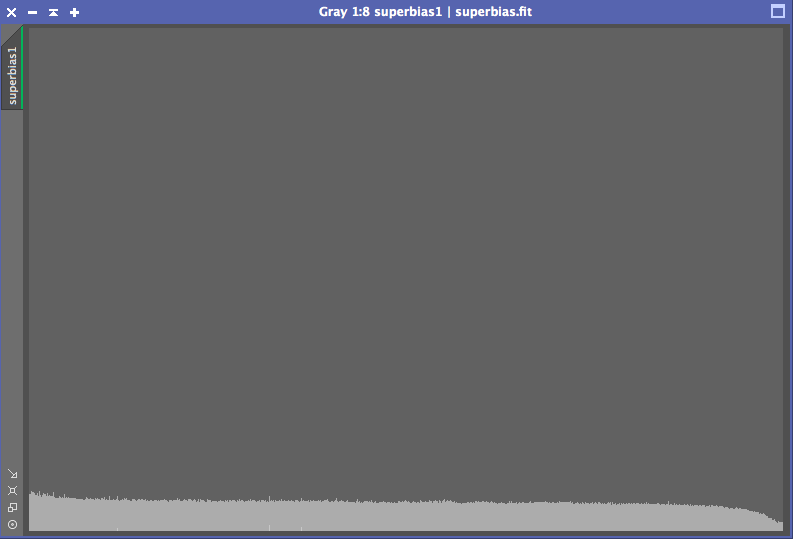
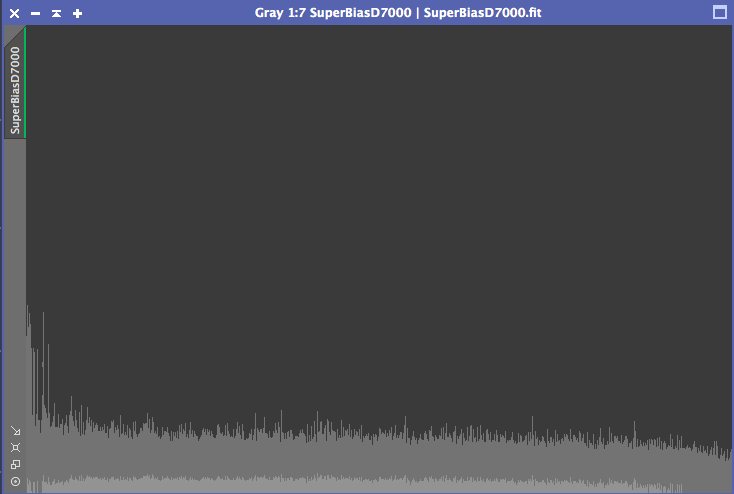
You can clearly see this difference in my MasterBias frames for the D600, D7000 and D5100.

It becomes even more clear if you look at the SuperBias for each model: