INTRODUCTION
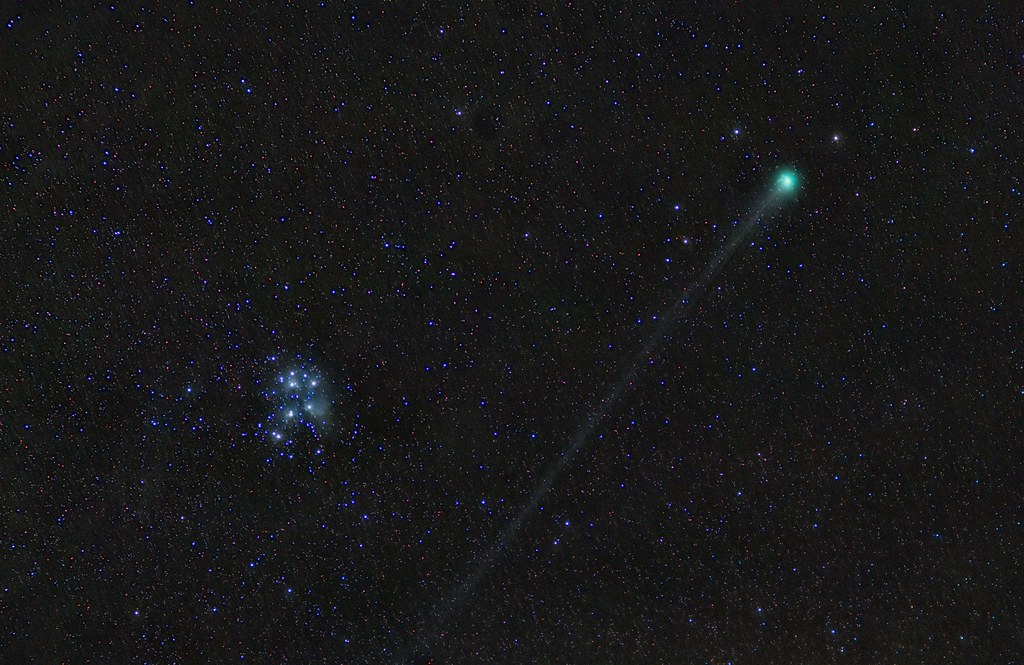
It had been almost a full year since I last went out for some astrophotography, other than the trips to La Palma and Hohen Woos (Germany). Finally the circumstances looked to be good to capture the comet LoveJoy, that was making a spectacular show passing by the Pleiades. Clouds were coming in, but I was able to capture 40 frames of 2 minutes each which allowed me to capture the comet’s impressive tail.
Photographing Comet LoveJoy and the Pleiades with Nikon D7000
Because the tail is so impressive and LoveJoy was nicely passing the Pleiades I chose to photograph using my Nikkor 80-200 on 80mm so I got the perfect field of view for this.
Details
Date: 17/01/15
Location: Ameloe – Germany
Optics: Nikkor 80-200mm F2.8 used on 80mm F4
Mount: NEQ6
Camera: Unmodified Nikon D7000 used at ISO800
Guiding: none
Exposure: 40 x 120 sec.
Processing
Processed in PixInsight
No darks, no flats, no bias
Processing long exposure dslr photographs of comets
Processing an image like this LoveJoy photograph is quite challenging because of the movement of the comet itself. During the exposure times the mount is following the movement rate of the stars, resulting in apparent movement of the comet in the different exposures.
To process this correctly you basically make 2 different stacks; 1 aligned on the stars and 1 aligned on the comet’s head. In the ‘cometstack’ you need to try to get rid of as many stars as possible during the stacking. After this you basically combine the 2 stacks so you put the stars back into the comet stack. However, getting rid of the stars was a challenge in this case, mostly because it is a widefield image with lots of faint stars. At this moment I suspect this is the cause of the ‘diagonal noise stripes’ in the image, since the stripes are in the exact direction of the comet’s movement.
In a follow up post I’ll dive deeper into the used workflow of this image of comet LoveJoy
