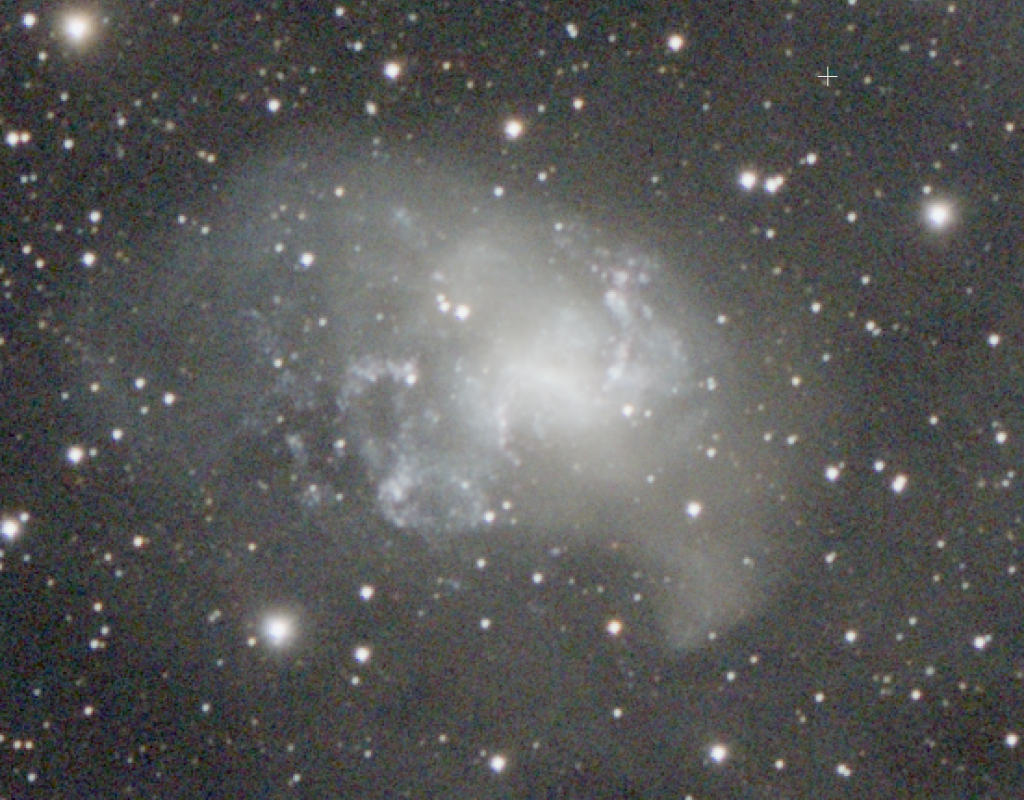
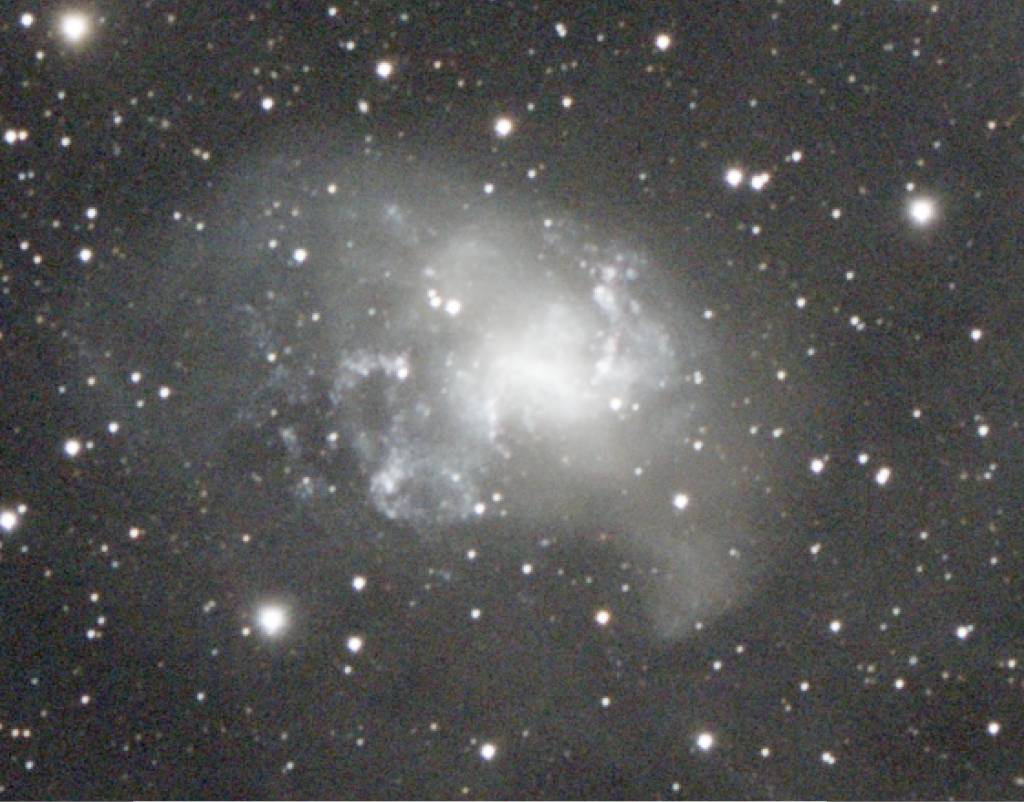
In the previous article on the importance of good stars in astro images I mentioned that, in PixInsight, you should always use MaskedStretch as the method to go from the linear stage to the non-linear stage; the first stretch of the image. I’ve received quite a few questions about properly applying the MaskedStretch and what settings to use, so it’s time to look into this process in more detail. But before I do that let’s first look at the difference between using MaskedStretch (before) and HistogramTransformation (after).
As you can see the difference is quite significant.
For a more detailed comparison between HistogramTransformation and MaskedStretch please check out this forum post on the PixInsight forums: http://pixinsight.com/forum/index.php?topic=6641.0
Using MaskedStretch
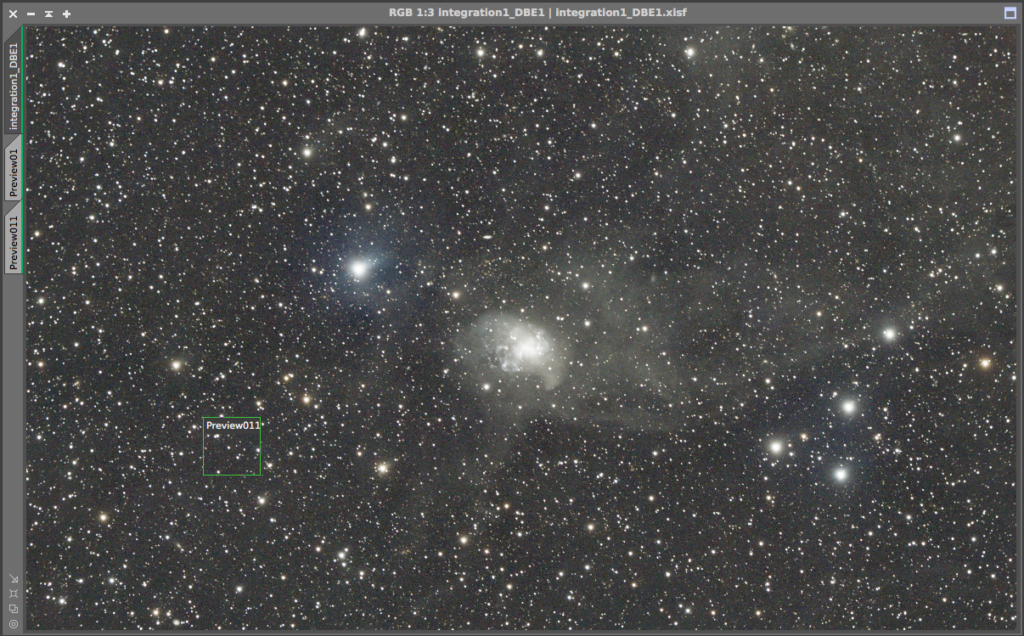
It is really easy to use MaskedStretch and most people will find that they get quite ok results with default settings. The most common remark I hear from people who do so, is that MaskedStretch isn’t stretching enough. This is always because of the Background reference and the upper limit setting value they are using. It is highly recommended to set a preview on an area of your image that has true background in it. With this I mean an area that only contains stars and the background itself. No nebulosity or galactic cirrus etc.
Alternatively you can also work with the whole image as reference, but you should only do this if you have no background at all in your image.
Target background
This is the mean background value of the background reference MaskedStretch will have as a result. I normally use the 0.125 value as a target.
Iterations
The recommended number of iterations is between 50 and 100 in general. MaskedStretch is quite an intensive process to run and it can take quite some time depending on the number of iterations. Usually I can’t see much difference between using 50 iterations or a 100. By default I have this setting at a 100, just to be safe. If you don’t want to wait on the process to run, you can lower this number and carefully inspect the result for any artefacts. You can get dark dots inside the stars if you use to little iterations. Below you can see an example of using 10 iterations:
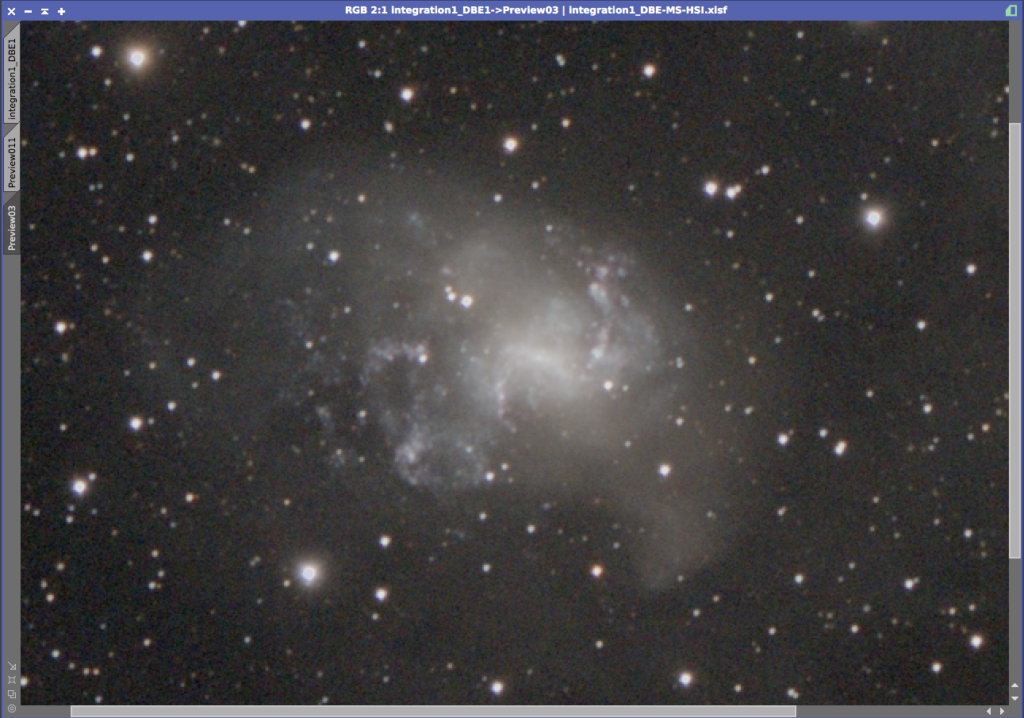
Simply up the number of iterations if you run into any artefacts resulting from MaskedStretch. The maximum number of iterations is 1000.
Clipping Fraction
This value determines which pixels will be clipped to black. The default setting works perfectly fine in almost all cases. You can increase this value for a more aggressive and contrasty stretch, but I don’t recommend doing so. Absolute black (clipped) is something we should avoid at all times since we are throwing away information by clipping.
Color mask type
I’ve yet to see an example where it actually makes a difference which type you choose, so I’d say just leave this at default setting.

Background reference
Pick the preview you made of the background here. Please note that it’s ok to have stars present in this preview, as long as you pick the right value for Upper limit in the settings. Some people recommend using a very small preview without any stars in it and that will work as well. However, even though the image should have a flat and even background, I prefer to use a bigger preview since we are working with mean values here.
Usually you can just use the same preview as you used for ColorCalibration.
Lower and Upper limit
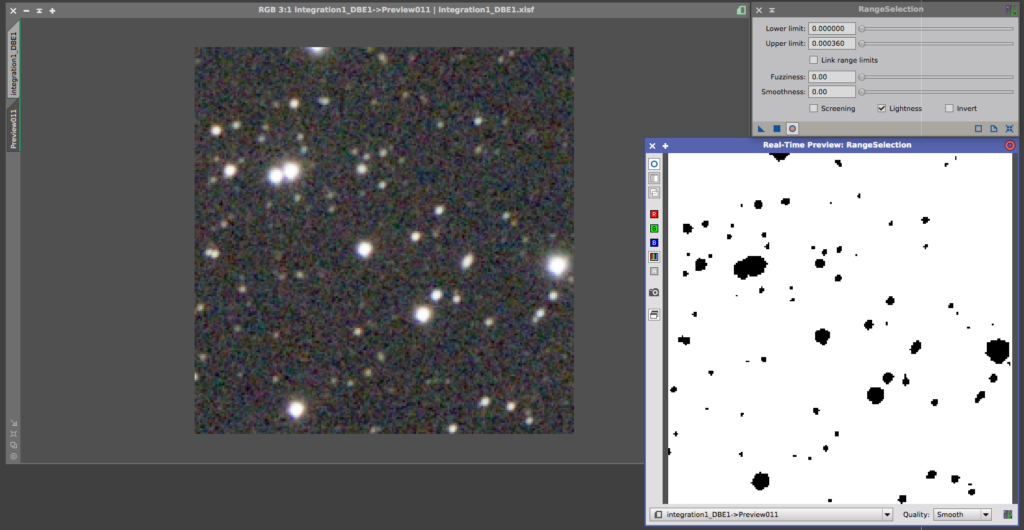
These values define what range of pixels should be considered as background. As lower limit you can just leave the value at 0. For the upper limit there are two ways to get the right value here;
- use the value that was used in ColorCalibration
- use RangeSelection to find the right value
When you use ColorCalibration you are doing the exact same thing as we are doing right now for MaskedStretch: defining what pixels are to be considered as background. The difference is that the ColorCalibration process has the handy option to ‘output background reference mask’. Using this setting we can visually tell if our chosen value for the upper limit is good or not. I recommend using the same preview and values with MaskedStretch. So just mark them down somewhere.
If for any reason you didn’t use ColorCalibration or don’t know the value any more, you can use RangeSelection to find the right upper limit value. Just make sure the result is a white background with black stars, as you can see in the example below
MaskedStretch as initial stretch
I highly recommend to use MaskedStretch as your initial method of stretching. It conserves the colors really well and keeps stars as small as possible. It usually produces a bit less contrasty results than HistogramTransformation would, but this can easily be improved by using CurvesTransformation in the next steps of your processing workflow. This means that you should avoid increasing the target background value to get the result that you want just by using MaskedStretch. You will get better results by carefully using MaskedStretch and CurvesTransformation after that.
An other possibility is to use MaskedStretch on your RGB data and do a HistogramTransformation on a (synthetic) Luminance and blend the two together.
