Somehow it often seems as if the stars in an astro image are ignored or overlooked in much of people’s workflow. Images with beautiful detail in galaxies, great capture of faint outer regions of planetary nebulas and great capture of h-alpha in emission nebulas often simply get ‘destroyed’ by harsh, clipped, bloated and too prominent stars. I say destroyed on purpose, because I feel somehow we accept this in astrophotography, but we would never in daytime photography. Then we choose our lighting and framing delicately and make sure distracting features in the image don’t get to much attention. In post processing we make the subject of our photo a bit brighter and often make the distracting features that still may be in our image darker and less obvious so they don’t draw the attention away from the object and the whole image feels balanced. In astrophotography however this is often not done (at all).
I feel this might have to do with the fact that getting a proper capture of the targeted object is challenging enough in itself, so we tend to neglect the additional stuff. But this hurts the overall look and feel of the end result. I think we need to pay more attention to the stars and make sure we use them to our benefit, rather than ignore them while they increasingly become a distraction.
Over the upcoming time I’ll start a whole series of posts on dealing with stars in astrophotography. First of all we need to understand what it means to have good stars in your images and what the factors are we can influence. Future articles will discuss many of these factors individually.
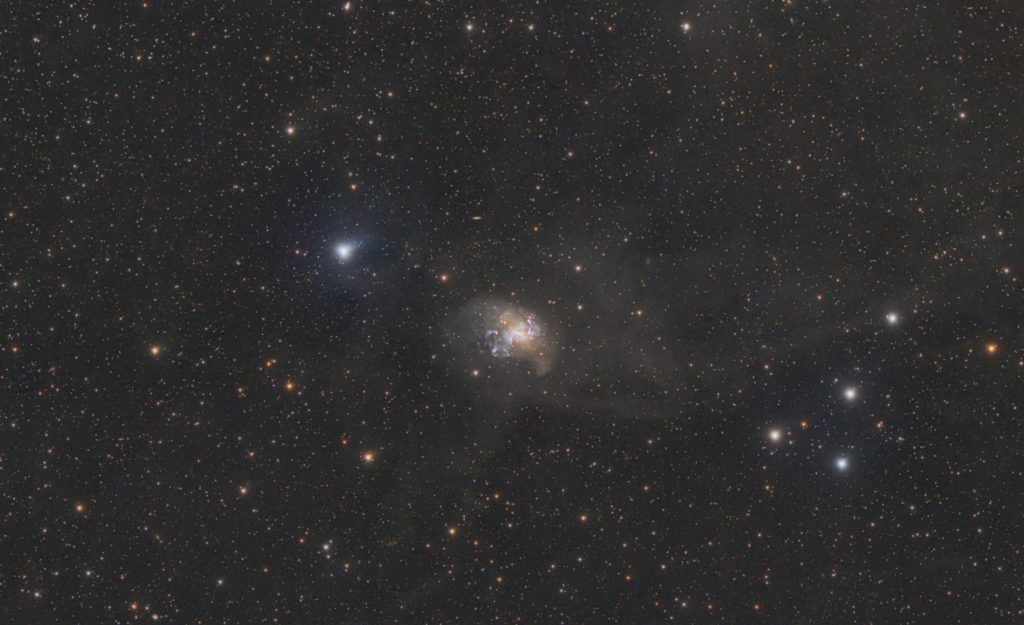
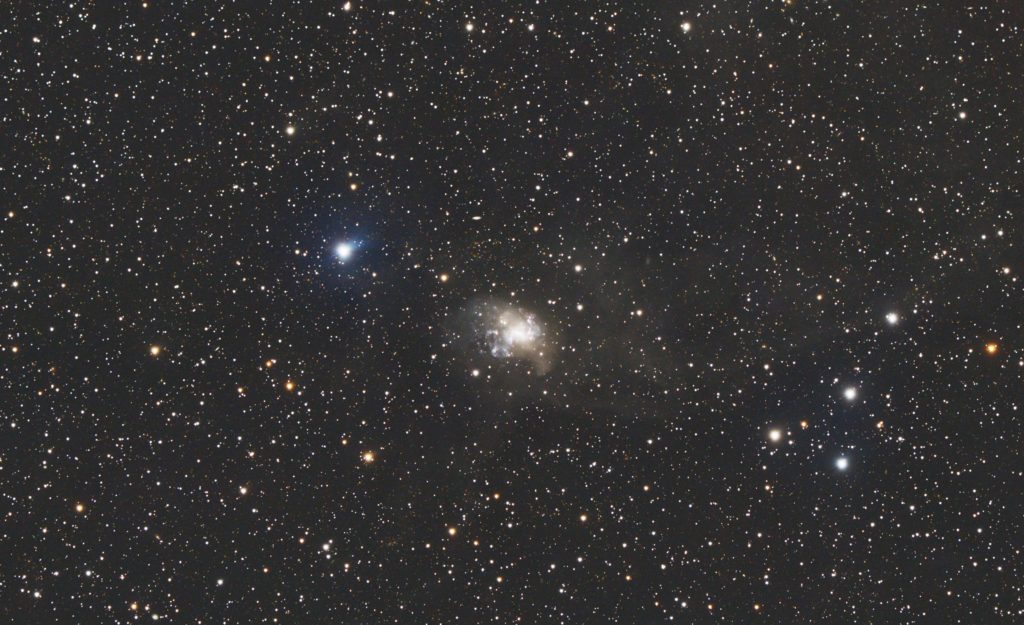
Below you can see an example of the impact that just the processing has on how the stars look in your final image. Notice that even in the ‘unprotected’ version a lot of stars still have a lot of color. This is party due to the low ISO I used (200) and the corresponding high dynamic range.
What are good stars in an image?
The way your stars will look is influenced by a lot of things, but they all come down to one or more of the following 5 aspects:
- Star size
- Star shape
- Star color
- Dynamic range
- Balance of the whole image
Star size
 We can measure star size by the so called ‘Full Width at Half Maximum’. Because a star in an image normally doesn’t have hard, well defined edges it can be difficult to estimate the size of a star. It represents a statistical (Gaussian) curve where the star will be fainter and fainter and fainter away from the centre, but at no well defined point we can state it is not part of the star any more. Therefor we use the statistical term FWHM which defines de width as the area where the pixel values are within the range of the half of the maximum value and the maximum value. This might sound confusing, but the image on the right visualises this quite helpful.
Equipment and seeing
Many factors will influence the FWHM of stars. First of all you will be limited by your equipment and by the seeing at your location. This influences the theoretical resolution you can image at and will determine the mimimum size that a star will have in your picture. I will go into more detail on this in a future article about sample rates and resolution in astrophotography.
Focus
The most obvious thing to influence FWHM of your stars is probably how well you achieved and maintained focus while imaging.
I explicitly say ‘maintained’, because in my experience a lot of people don’t focus often enough during an imaging session. Please note this will be very dependant on the telescope type and model, but in all cases focus will shift to some extend with temperature fluctuations. In general I tend to recheck and refocus if the temperature dropped 2 degrees Celcius or every 30 minutes, whichever occurs first. After a couple of hours into an imaging session and when all conditions are stable I extend this to 1 hour.
What is a good FWHM value and star size?
As explained the FWHM value will be dependant on your local sky conditions and the equipment you are using. Therefore there is no absolute answer possible to this question. Instead, you should consider the right FWHM value the best value you can achieve at that moment. Since sky conditions can change even during an imaging session, you can never compare FWHM values even within the same imaging session and therefor you should not use this to judge focus. Always aim for the lowest value, that’s the right FWHM.
Exposure length
The longer you expose, the more stars will be burned out and start to ‘bloat’. Often this is something you can’t prevent when you are trying to capture faint signal, but it’s a trade of you should be aware of. In many objects you gain little to nothing to use exposures of for instance 12minutes instead of 8, while with the 8 minute exposures you end up with better stars and in total the same integration time. In other words; choose your exposure lengths wisely!
ISO
I’ve talked about choosing the best ISO for your camera before and can’t emphasise enough that you are hurting your Dynamic Range if you increase the ISO. Choose your ISO wisely and if you are not limited by read noise, lower your ISO further for better Dynamic Range and less bloated stars.
Post Processing
I think this is where it goes wrong in most cases. While processing we try to get the faint signal to stand out in the image, we love contrasty images and so we stretch and we stretch and we stretch while we pay close attention to the subject we imaged, (sometimes) forgetting about the stars. With all the stretching the stars will clip and become bigger in size.
It is really important to get proper star processing and stretching embedded in your regular workflow. One process that makes a huge difference is MaskedStretch. To be honest, there is no excuse to not use MaskedStretch for your initial stretch.
Furthermore you need to protect the stars with a proper star mask, so you can process the image while protecting your stars. This is needed not just for stretching, but also when you use sharpening for instance because small stars will get more clarity.
Next to protecting the stars, you can use the star mask also for processing the stars apart from the rest of the image and for instance use MorphologicalTransformation to make the stars a bit smaller and less prominent.
there is no excuse to not use MaskedStretch for your initial stretch
Star shape
Of course we want our stars to be round. We judge our equipment and setup by checking if the stars are round across the whole frame. A lot of factors come in to play here. Collimation and guiding might be the most obvious two since we might have to deal with those two every session. If we are using field flatteners or coma correctors it is also important to have the right distance from those optics to the sensor, to have the sensor perfectly orthogonal to the optics, etc. etc.
We can measure and judge how well the stars are shaped in our image by looking at eccentricity. This is a measure of the star profile distortion, so a lower value means a more perfect rounded star. An eccentricity of below 0.42 is not perceptible to most people.
I guess the tolerance of this distortion is personal to some extend. Some people will accept ‘egg shaped stars’ to some extend as a trade off to imaging time, while others cannot and spend more time perfecting the guiding (for instance) while trading imaging time for it.
If the star distortions in your images are random or incidental enough, you might even be able to correct this a bit in stacking by rejecting some of the distortion.
On the other hand, if the star distortion is consistent enough, you might be able to correct this with deconvolution.
Another factor that can influence the star shape is under sampling. Because we are using square pixels, we are always trying to represent a round shape by squares. If we under sample we might get square stars. This can be made less obvious by using convolution.
Star color
Star colors will be influenced by proper color calibration of course. Futhermore, optics problems like chromatic abberation will be visible as colored fringes around the stars. This can also occur if you didn’t achieve good focus or if optics are not apochromatic.
Color fringes can be easily fixed however, so this shouldn’t be a major problem. In Lightroom this is easy to do with Defringe.
To what extend you like color in your stars is probably a matter of personal taste. In my opinion most images would look better if the stars weren’t so pale or white. Most often it takes a bit more saturation for the stars to show color than the rest of the image, so make use of a careful created StarMask so you are able to push saturation in stars only.
Dynamic Range
The dynamic range you have available basically limits how fast a star (or any other light) will be clipping the histogram and will look just white, without any color variation, in the final image.
The dynamic range is a measurement of the ratio between the level at which no more incoming photons can be measured (white clipping) and the darkest possible measurement. This is practically limited by the image noise. You can imagine how ISO will influence this since it is just amplification of the signal. So, it will amplify the highest value even further past the limit, while amplifying the lowest values up and raising the ‘floor’ so to speak. So the range (or ratio) becomes smaller and more pixels are clipped.
In order to avoid stars to clip and get color in your stars, as well as in the darker regions, you will want to choose your ISO wisely.
Balance of the whole image
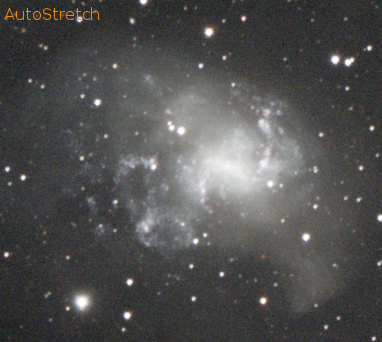
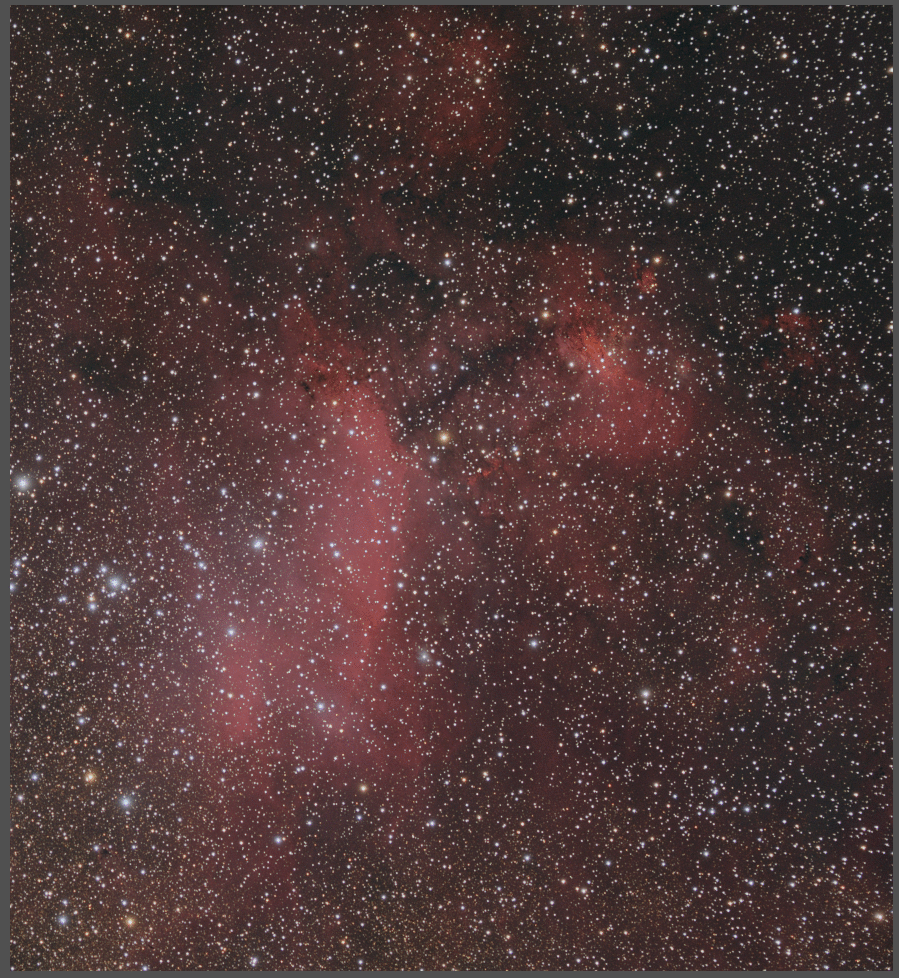
As said I think (good) stars are really important in your astro images, however, they can be highly distracting if they are bloated, clipped and just ‘in your face’ so to speak. This is especially the case with objects within the milky way of course. So the challenge is to find the right balance so that the stars complement the image, rather than take up all the attention and just be to ‘loud’ and prominent. All the things mentioned before will help you achieve this balance and ‘tame the stars’ so to speak. As a final step you can tweak the final balance by using MorphologicalTransformation to shrink the stars a bit and make them less prominent. With a good star mask you can control which stars you want to include or exclude in this process. Be careful though to not overdo it as it can start to look unnatural quite quick. In the image below you can see how much difference it makes to just use this tool. I highly recommend to incorporate it in your workflow.
Most often I use the setting of 1 iteration and the amount at 0.6 for starters, and then see what the effect is. Sometimes it will be enough, sometimes you might want to do another iteration with a different amount. Make sure you don’t use a binary star mask, but one that represents the intensity of the stars so that the overall balance of the stars stays consistent.
Conclusion on better stars in your astro images
There are a huge number of factors that influence the look and feel of the stars in your astro images. Each factor might make only a small difference individually, but add them all up and you will see significant improvement of your final results.
I want to go into more detail on these factors and how you can further improver your results, please let me know in the comments below if you have any questions and interests you want me to cover.

Thank you very much for this useful information! Can I share and translate your post on my facebook group? Providing the original source, of course!
I’m glad you liked it! Sharing (with mentioning the source) is always fine!
Chris,
I want to know more about the MorphologicalTransformation. Please make an article about it.
Thanks!
Dicky
Thanks for your excellent blog! I’m a new astrophotographer, learning a lot from your clear and technical articles.
When you focus, do you move to a bright star and use LiveView, or stay pointed at your target and just find the brightest star in the field? Does the increase in internal DSLR temperature with the use of LiveView concern you?
Excellent questions!
For focussing for the first time in a session OR when switching to another subject to photograph I just slew to a very bright star and use LiveView. When I’m re-focussing during an imaging session I’ll try to use stars in the field of view if possible, but often this isn’t possible. Do note that I’ll be using a bhatinov mask to do focussing, so an exposure of a few secs will often be what I’ll be using. If you end up needing to take 30sec exposures because you don’t have any bright stars in the fov, then I’ll slew to a nearby brighter star. Before I do this, I’ll write down the RA and DEC coordinates of the hand held, so I know where to slew back to in order to get the exact same framing of my object again.
It depends on the camera how much the warmth of the LiveView will be harmful, but in general it can be contributing to noise quite a lot so I would try to simply use it quickly or just use regular exposures.
And don’t forget to increase the ISO for focussing (and returning it to the normal value afterwards! ;))
I hope this helps!
That’s great, Chris, thanks! Makes perfect sense.