In a previous article I talked about Composition in Astrophotography. To be able to apply these tips, it is very useful or even necessary to plan your images ahead of time. Often people only plan in terms of which subject they want to photograph, not HOW they are going to photograph it in terms of composition!
I want to give some tips in planning the composition of your image.
Stellarium
Of course Stellarium or similar programs can show you which objects are available to photograph at which times and also give an indication of the Field Of View when you are using the scope and camera settings correctly. This is always the first step I take as this enables us to give an idea on what we can photograph at any given time. However, these programs often have very little photographic material to actually show and plan how the image will look.
Google it!
I often go back and forth between googling images and checking in Stellarium if they are visible to me from my location. As for composition and FOV you can simply search google for the object and add some indication of your equipment or fov to get examples. Furthermore you can use Astrobin or Flickr and search for images made specifically with the equipment you are using.
Unfortunately this often gives few results, and you still end up comparing photo’s from different sensor sizes and different telescopes.
Digitised Sky Survey and Imaging Toolbox
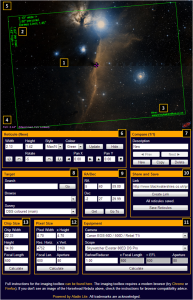
The digitised sky survey is a photographic version of many sky atlasses and is available in different versions and continuously improved upon by ESA, NASA and many other observatories.
Blackwater Skies has made a very impressive Imaging Toolbox in which you can fill out your equipment and get an accurate FOV representation as overlay on the DSS photographic data. This way you can very accurately plan the fov and your composition!
However, for a lot of objects the DSS photographic material is simply not good and/or clear enough.
To plan your image even better and accurate you can combine the DSS view and the examples you found with google.
So it’s time to combine our resources and get more accurate!
Combine example images with your FOV
In a few simple steps you can combine your fov example from the Imaging Toolbox with the example images you found. I’ll be using PixInsight to align images, but you can of course use any tool you like in which you can align images manually.
As an example we will be planning a widefield image of ‘Jacob’s Ladder’ (with galaxy IC4633) which is an area with faint dust I’ll be shooting when I’m in Namibia.
Step 1: Find an example image
I actually got this idea by browsing through many photo’s other people had taken when visiting Namibia. So my starting point was this example shot by Harel Boren.
Please note that it is helpful to get a wider field of view for the example image.
Step 2: Get an image of your FOV on the subject
Go to the Imaging Toolbox and put in the parameters for your FOV or pick your equipment. Move around your FOV to find the composition you think would be the best one.
Export the image you have a representation of your FOV on the DSS photo.
Step 3: Align the images
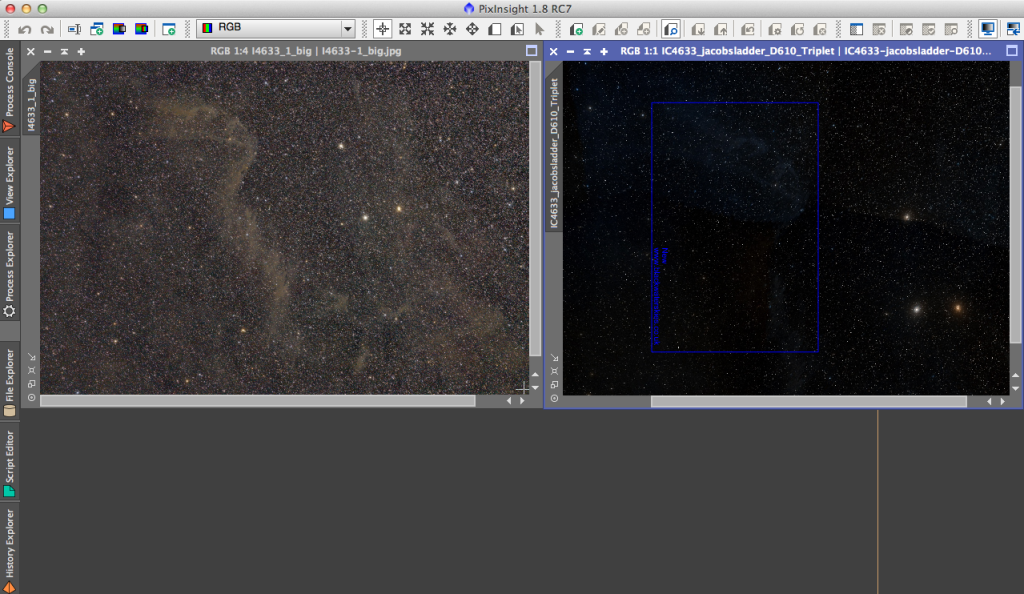
Now it’s time to align the example image and the image of your fov. Open up both images in the tool of your choice, I’ll be using PixInsight:
Open the DynamicAlignment process so you can manually align the FOV image. Make sure you select the example image as reference and you align the FOV image. Select some stars spread out over the image and find and select the corresponding star in the FOV image.
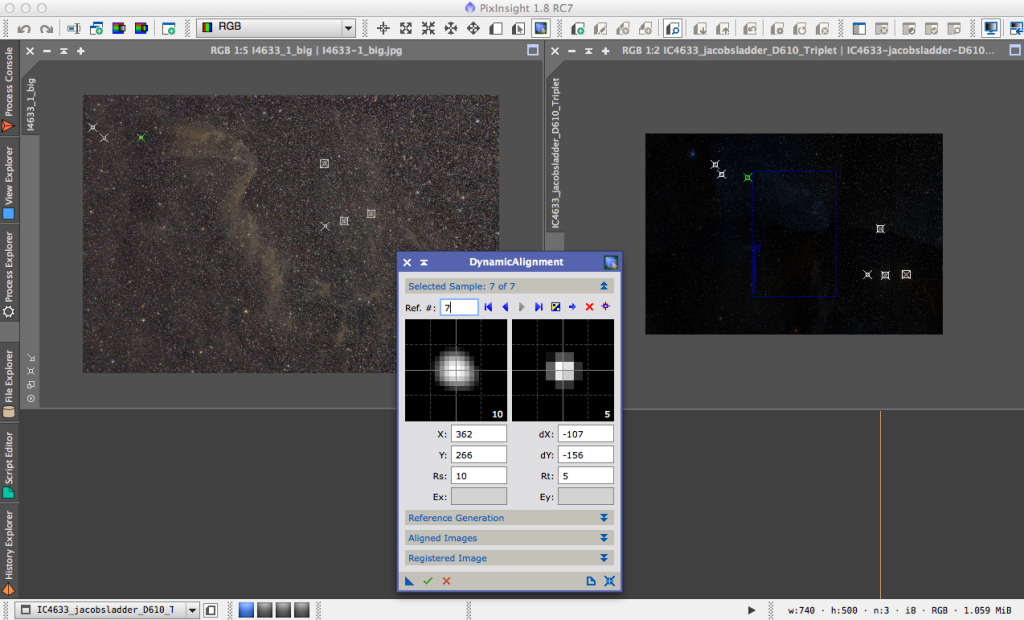
Once aligned you need to save the aligned image.
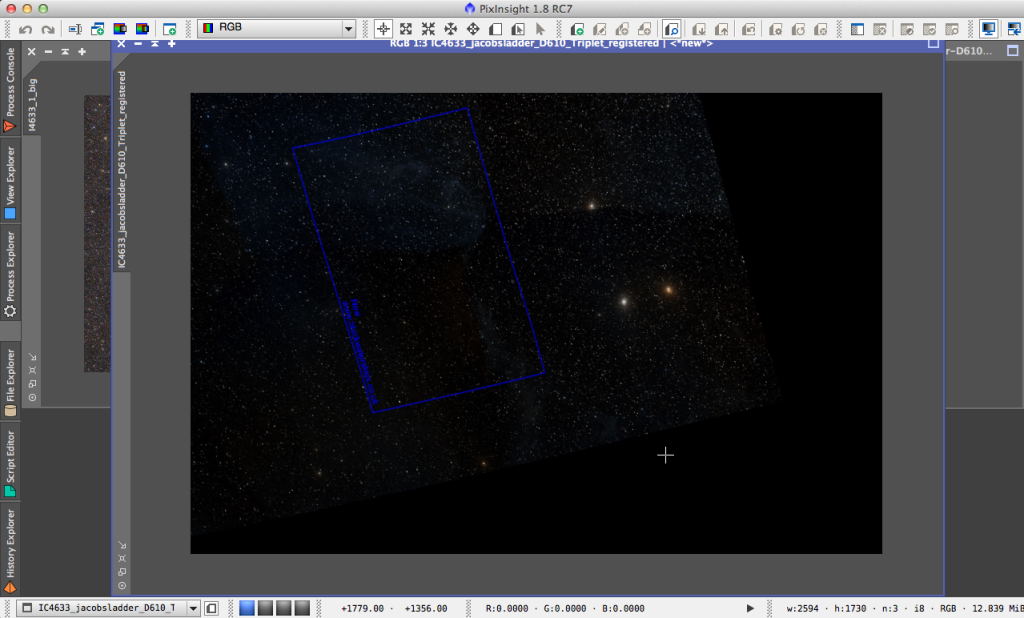
Step 4: Extract the FOV box from your FOV image and plot it on the example image
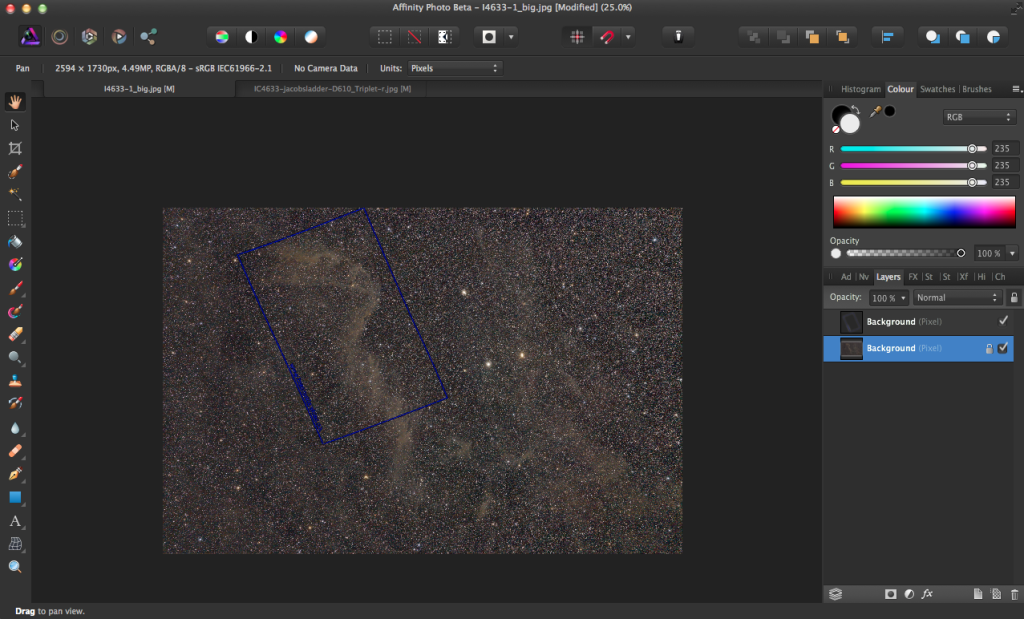
Open up both the aligned FOV image you just saved and the example image in the image editor of your choice. I’ll be using Affinity Photo for this. Once opened you can select the FOV box from the FOV image by using the Magic Wand.
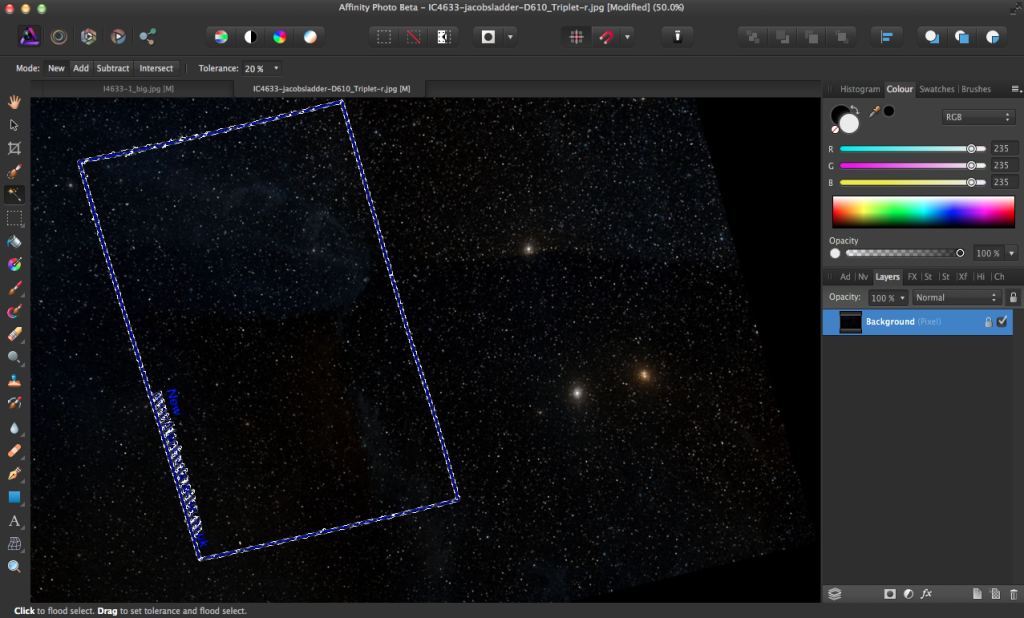
Step 5: Plot your FOV on the example image
Now copy the selection and paste it as a new layer on the example image. Now you have the accurate and exact field of view on the example image, so you know exactly how the image will look that you are planning to take! Move around and rotate the FOV box to further improve the composition.
Once done you can save this image and take it with you as reference when you are actually framing and taking the picture!
